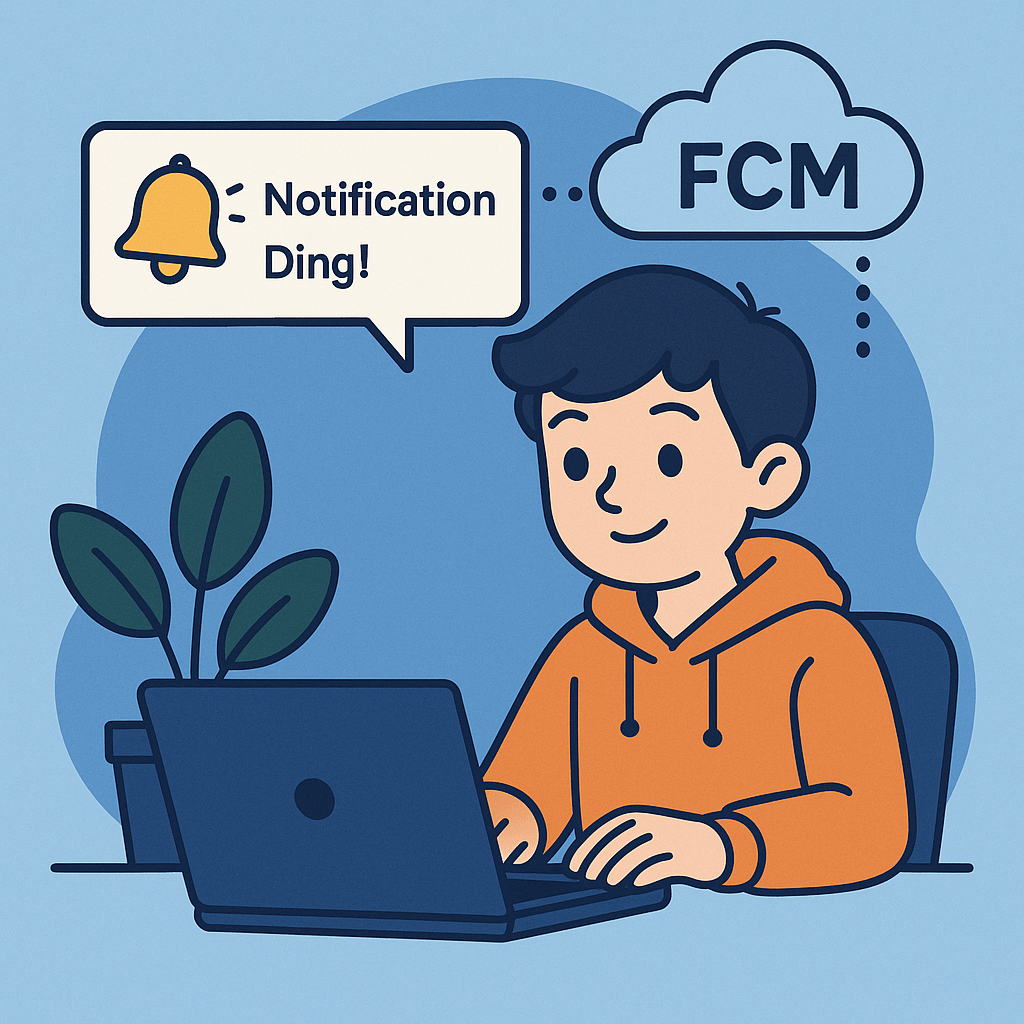
🧠구글 FCM으로 윈도우 알림 보내기 ?
Web
2025.07.16.
🧠 알림이 팡! 구글 FCM으로 윈도우 알림 보내기 대작전
📖 들어가는 이야기
옛날 옛적에, ‘알림 왕국’에 살던 개발자 토끼 ‘알람이’는 생각했어요.
“내가 만든 웹사이트에서 누가 새로운 소식을 남기면, 컴퓨터 오른쪽 아래에서 딱! 하고 알려주면 좋지 않을까?”
그렇게 알람이는 구글의 FCM(Firebase Cloud Messaging)과 서비스 워커라는 마법 도구를 배워서, 드디어 윈도우에서도 알림을 보내는 신기한 능력을 얻게 됩니다!
오늘은 알람이와 함께, 브라우저에서 윈도우 알림을 띄우는 마법 같은 여정을 함께 떠나보아요.
🎯 목표
- 브라우저에서 백그라운드로 알림 받기
- 구글 FCM 서버와 API 사용하기
- Service Worker를 사용해서 알림 띄우기
🗺️ 전체 프로세스 한눈에 보기
[1] 사용자 접속 → [2] 알림 허용 요청 → [3] 토큰 발급 (FCM)
   → [4] 서버에 토큰 저장 → [5] 서버에서 메시지 발송 API 호출
   → [6] 클라이언트에 메시지 수신 → [7] Service Worker가 알림 생성
🛠️ 준비물
- Firebase 프로젝트 (https://console.firebase.google.com)
- 웹사이트 (HTML + JS)
- Firebase SDK (fcm)
- Node.js 또는 백엔드 서버 (알림 보내는 용도)
- 크롬 브라우저 (알림 테스트 용)
1. 🔧 Firebase 프로젝트 생성 및 웹앱 등록
- Firebase 콘솔 접속 → 새 프로젝트 만들기
- ‘웹’ 아이콘 클릭해서 웹 앱 등록
- Firebase SDK 스크립트 받아서 HTML에 추가
<!-- Firebase App (필수) -->
<script src="https://www.gstatic.com/firebasejs/10.12.0/firebase-app-compat.js"></script>
<!-- Firebase Messaging -->
<script src="https://www.gstatic.com/firebasejs/10.12.0/firebase-messaging-compat.js"></script>firebaseConfig객체 설정
const firebaseConfig = {
  apiKey: "your-api-key",
  authDomain: "your-app.firebaseapp.com",
  projectId: "your-app",
  messagingSenderId: "your-sender-id",
  appId: "your-app-id",
};
firebase.initializeApp(firebaseConfig);
2. 📲 사용자에게 알림 권한 요청 + 토큰 발급
const messaging = firebase.messaging();

async function getFcmToken() {
  try {
    const permission = await Notification.requestPermission();
    if (permission === "granted") {
      const token = await messaging.getToken({ vapidKey: "your-vapid-key" });
      console.log("FCM 토큰:", token);
      // 👉 서버에 토큰 저장 필요!
    }
  } catch (error) {
    console.error("토큰 에러", error);
  }
}
3. 📡 서버에서 메시지 전송하기
🔐 필요한 것
- Firebase Admin SDK
- 서버 Node.js 예시
const admin = require("firebase-admin");
const serviceAccount = require("./service-account-key.json");

admin.initializeApp({
  credential: admin.credential.cert(serviceAccount),
});

const message = {
  token: "클라이언트 FCM 토큰",
  notification: {
    title: "✨ 알림이 왔어요!",
    body: "여러분 안녕하세요!",
  },
};

admin.messaging().send(message)
  .then(response => console.log("보낸 결과:", response))
  .catch(error => console.error("에러:", error));
4. 🧙 서비스 워커로 알림 수신 및 표시
firebase-messaging-sw.js (웹 루트에 위치해야 함)
importScripts("https://www.gstatic.com/firebasejs/10.12.0/firebase-app-compat.js");
importScripts("https://www.gstatic.com/firebasejs/10.12.0/firebase-messaging-compat.js");

firebase.initializeApp({
  apiKey: "your-api-key",
  projectId: "your-project-id",
  messagingSenderId: "your-sender-id",
  appId: "your-app-id",
});

const messaging = firebase.messaging();

messaging.onBackgroundMessage(payload => {
  console.log("백그라운드 메시지:", payload);
  const { title, body } = payload.notification;
  self.registration.showNotification(title, {
    body,
    icon: "/logo.png", // 아이콘 경로
  });
});
✅ 결과 확인
- 웹에서 알림 권한 허용
- 서버에서 메시지 보내면
- 윈도우 오른쪽 아래에서 ✨ “알림이 왔어요!” 팝업 확인!
🧩 마무리
이제 여러분도 알람이처럼 구글의 마법을 이용해 웹사이트에서 알림을 보내는 알림 마법사가 될 수 있어요!
“정보를 즉시 전달하는 알림은 사용자 경험을 높이는 좋은 도구입니다.”
이 기술을 여러분의 웹앱에도 꼭 활용해보세요! 🪄